How to make seamless pattern in Adobe Illustrator
- Katerina Kirilova
- May 30, 2019
- 2 min read
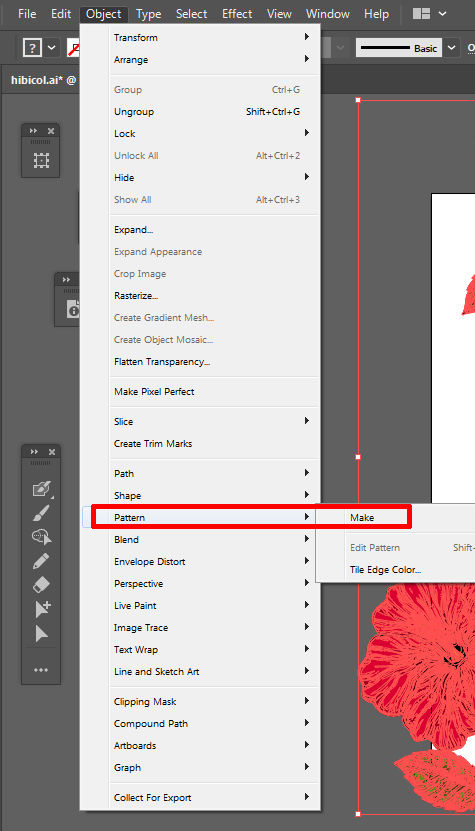
First, I started with arranging my elements in 400x400 pt artboard, after I was satisfied with the composition I selected all elements and went to object/pattern/make.
After that AI entered pattern editting mode, I continued arranging the elements and I was able to see in real time how my pattern was tiling. In pattern options dialog box, I chose tile type-grid, resized(I used pattern tile tool to resize and move bounding box) and chose Overlap edges type.

When I was satisfied with the composition I clicked done. Illustrator exit pattern editing mode and created new pattern swatch. I deleted all my elements and drew a rectangle and filled it with my new pattern, then expanded and went to layers palette to open the new clipped group, chose one pattern tile and deleted others. Then I resized my artboard to fit my pattern(I selected the pattern and chose fit to art from the dropdown menu of artboard tool) after that I pasted linework of my previous pattern in the background to create a feeling of texture(also resized and fitted it to artboard). Then I chose a color for the background and applied it to the clipping mask. When I was ready with my pattern, I saved it and opened the file in PS(you can open it with right-clicking the file in Bridge choosing "open with PS" or click file/open in Ps ), a dialog box appeared, here you could choose the size, dpi, color mode, etc.

I clicked ok and here was my raster pattern. One final thing I always do, under edit menu I clicked create pattern and then created a new pattern layer to see how my new pattern tiles. That's it. If I missed something and there's something unclear, ask in the comments, thanks for reading.


Comments